From your file to your favorite thing.
A few small checks make a big difference to your finished print.
Start with the original
Export from the app you created the artwork in, or use the original camera file. A screenshot or an image downloaded from social media often loses detail before it reaches us. Keep a separate copy of your master file.
Transcript
- 0:00 On the Hoodies page, choose a size. Each size shows its price.
- 0:03 Confirm you own the image or have permission to print it.
- 0:07 Upload your image. Every size is checked against its resolution.
- 0:11 Each size shows a grade from the file’s pixel count. This demonstration file was enlarged 2× (3344 × 1882 px) to reach 156 dpi.
- 0:15 The crop preview shows the area that prints.
- 0:19 Add to cart. The cart opens with your size and price.
Photograph flat work evenly
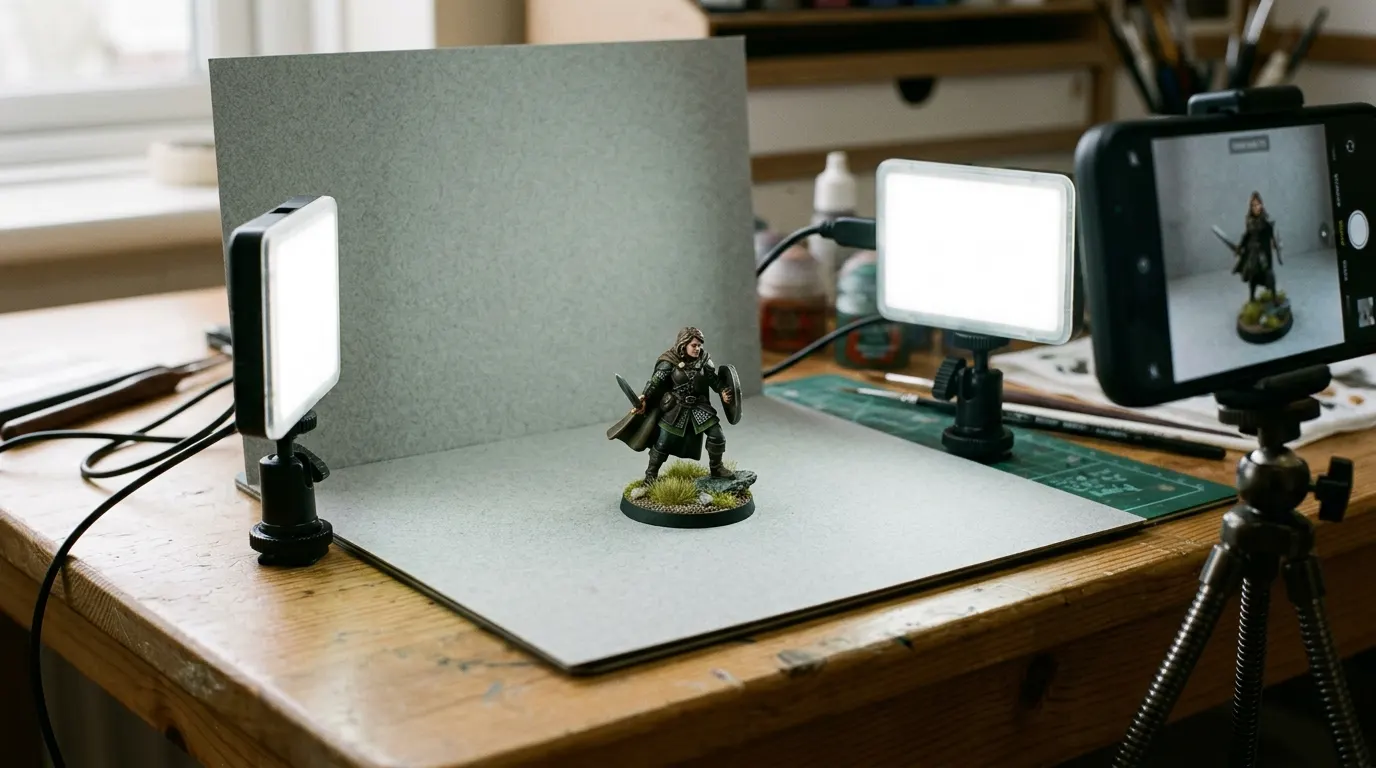
Put the artwork near a window in soft, indirect light. Keep the camera parallel to the surface, fill the frame, and avoid your own shadow. Check for glare, especially on varnish and glossy paint. Crop out the desk and straighten the edges before exporting.
Choose the file
Upload a JPEG, PNG, or WebP no larger than 10 MB. Flatten layers and check transparent areas against a light background. We assess pixel dimensions against the product size: changing a file’s DPI label alone does not add any detail.
Let the crop have some room
A square illustration and a tall frame have different proportions. The preview shows the area that prints. Keep signatures, faces and lettering away from the edges, and choose a different size or format if the crop removes something important.
Check color with realistic expectations
A screen emits light; paper reflects it. Extremely bright colors can appear more subdued in print. Inspect your file on a normally lit screen, and avoid judging it with the brightness turned all the way up.