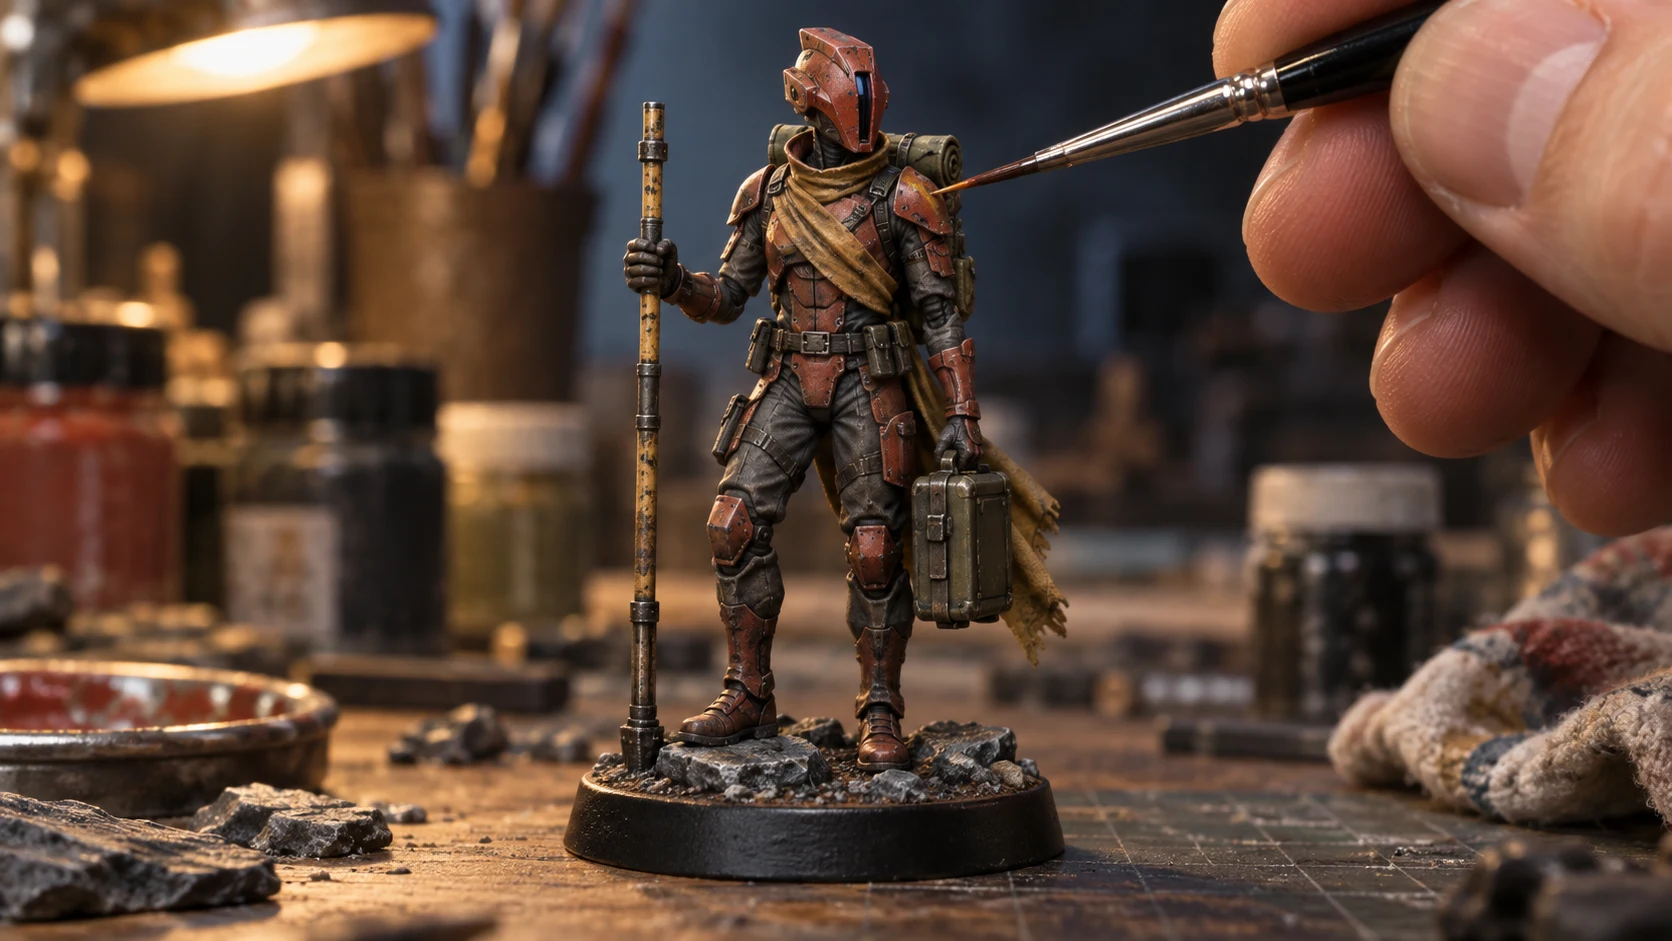
iPhone macro photography, for things the size of a thumb
iPhone macro photography goes wrong in one predictable way: people move the phone closer and closer until the subject fills the frame, and somewhere on that journey the picture stops being sharp. The fix is counter-intuitive — back off.
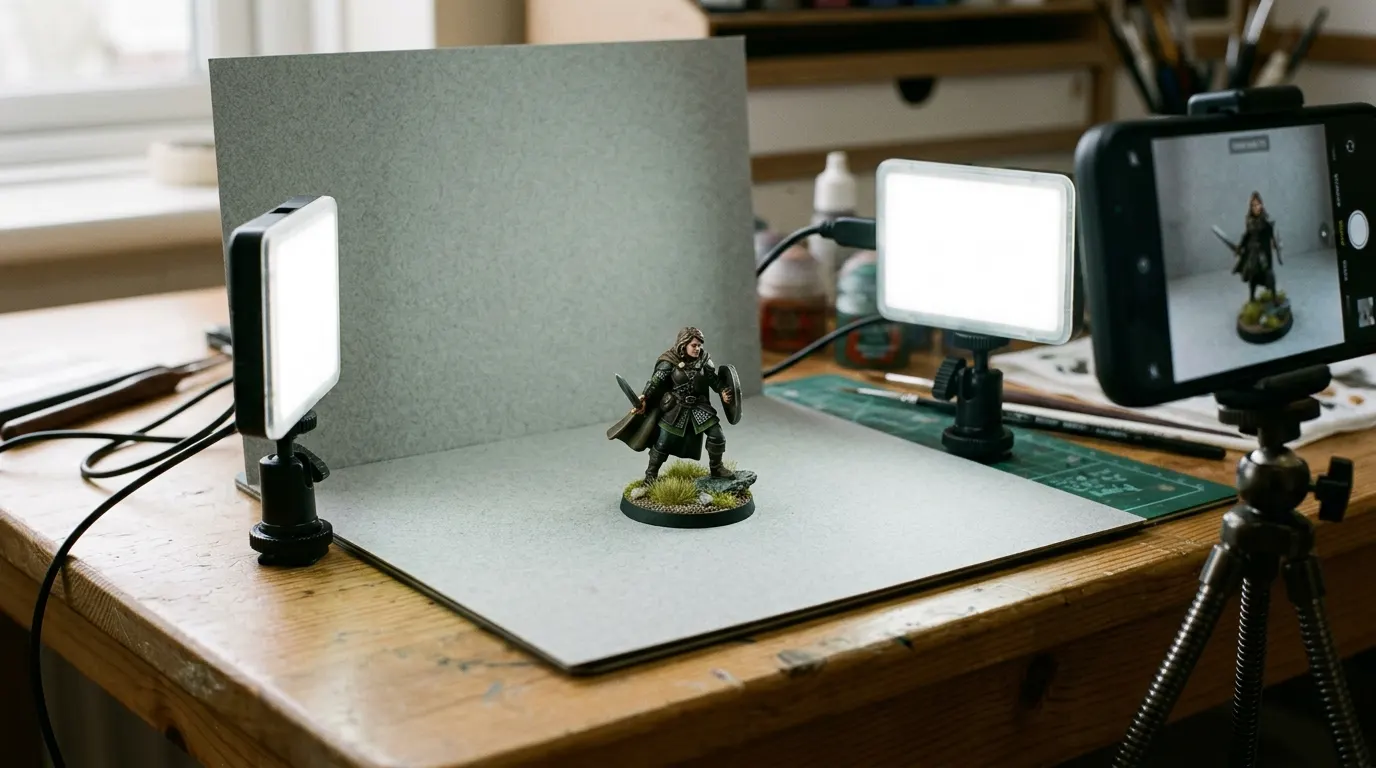
Everything here is technique you can test on your own phone in the next two minutes, rather than specifications. Phone cameras and their software change with every model and every update; how light and focus behave does not.
Why closer stops working
Every lens has a minimum distance at which it can focus. Inside that distance it simply cannot, and the picture goes soft no matter how still you hold it. Phones disguise this well — the preview looks almost right — so people keep pushing in, and end up with a large blurry subject instead of a small sharp one.
Find your phone's limit once: put something detailed on a table, start far away, and move in slowly until the detail stops improving. Remember roughly where that was. Everything below depends on staying outside it.
One exception, and it matters if your phone is recent. On supported iPhones the camera hands over to the Ultra Wide lens as you close in, which focuses as close as two centimeters — so on those models closing in is the right move rather than the wrong one. A flower icon appears on screen when it happens, and tapping it turns the automatic switch off. If you have that icon, find your limit with it on; if you do not, the paragraph above is your phone.
The iPhone macro photography habit that fixes most shots
Shoot from comfortably outside the minimum distance and crop afterwards. How far you can crop depends on the phone: a twelve-megapixel photograph cropped to a third has about four megapixels left, which is an A4 at 150 dpi rather than at 300. A sharp crop still beats a soft full-frame shot, but check the size you want against the paper sizes rather than assuming.
This one habit fixes the majority of disappointing close-ups, and it costs nothing.
Depth of field is the real constraint
Up close, the zone that is in focus becomes very shallow — often a few millimeters. On a painted figure that means the nose can be sharp while the eyes are not.
Two responses. Move the phone back (again), because distance deepens the zone. And decide in advance what must be sharp, tap the screen there to set focus, and accept that the rest will not be. A close-up where everything is sharp is usually a close-up taken from further away than it looks.
Stillness matters more than light
At this distance a tiny movement is a large movement in the frame, and handheld shake reads as "not enough resolution" when it is nothing of the kind.
Prop the phone on a stack of books, or against anything solid, and use the timer so that pressing the button does not move it. This is the difference between a usable photograph and a nearly-usable one, and it requires no equipment at all.
Light it from the side
Light from behind the camera flattens everything, which on a painted object destroys exactly the detail you wanted to show. Put the light to one side and diffuse it through a sheet of paper, and the surface gets its texture back.
A window on an overcast day is excellent and free. If you are building something more repeatable, the light box guide covers it — including why a perfectly even box will flatten the subject if you let it.
Turn off anything that sharpens for you
Phones apply sharpening and noise reduction automatically, and at macro distances both can work against you — sharpening exaggerates the transition at the edge of the focus zone, which makes a soft photograph look crunchy rather than sharp.
There is not usually a switch for it. What you can do is give it less to fix: more light, a braced phone and a subject inside the focus zone all reduce how hard the processing has to work, and the result looks more natural.
Clean the lens
Last, and genuinely the most-skipped step. A phone lives in a pocket and the lens carries a film of grease that shows up as a soft haze, worst when a light source is in frame. Wipe it on a cloth before every session.
Shoot more than one
At this distance the difference between sharp and nearly sharp is invisible on the phone screen and obvious on a laptop. Take six of every angle rather than one, and throw five away.
It costs nothing and it is what separates people who get good close-ups from people who get one good close-up occasionally.
Macro for painted models specifically
Compare the available US sizes and USD product prices before ordering. Shipping is calculated at checkout for your cart and US address; an expedited rate appears when available.
Check your phone’s macro controls
Apple’s macro photography instructions explain the controls on supported iPhone models. For a painted figure, compare results with our miniature photo checklist; getting close is less useful than keeping the face and equipment readable.
Good to know
Why are my iPhone macro photos blurry?
You are almost certainly inside the lens's minimum focus distance. Back off until the detail sharpens up, then crop in afterwards - a sharp crop beats a soft close-up.
How do I keep a tiny subject in focus?
Move further back, which deepens the zone that is sharp, and tap the screen on the part that must be sharp. Up close that zone can be only a few millimeters deep.
Do I need a macro lens attachment?
For most small objects, no. Backing off and cropping, bracing the phone and lighting from the side solve more than an add-on lens does.
Which step do people skip?
Cleaning the lens. A phone lives in a pocket, and the resulting film of grease shows up as a soft haze, especially with a light source in frame.