Miniature painting: from bare figure to finished model
Miniature painting comes down to a handful of stages done in a sensible order: clean the figure, prime it, lay down thin base coats, add shade and light, then finish the base. This guide takes them in that order, answers the questions people ask about priming, drying and mistakes, and ends with what to do once the figure is done.
Jump to a section · 12 sections
Brush & Paint is not affiliated with Games Workshop or Wizards of the Coast, and sells nothing of theirs. This guide is about the painting, whoever made the model.
Your first figure won't be your best, and that's fine. Painting works because each stage gives the next one something clean to sit on, so a small slip early on doesn't travel with the figure all the way to the finish. Where a step is a checkable fact, this guide quotes a hobby paint maker's own published advice and links it. Everything else is plain advice you can test on a spare model.
How to paint miniatures if you think it looks hard
The early stages aren't. You need a figure, some paint, a small brush and a bit of patience. It feels hard when you try to do the last stage on the first day. Paint one figure to primer and a single base coat and it already looks finished from arm's length. Add shade on the next one, and light on the one after.
What to have on the desk
Everything below assumes acrylic hobby paint, because that's what the paint maker's guides quoted here are written for. Beyond the paint you need very little.
- A small round brush with a good point, and a bigger, cheaper one for large areas and for mixing.
- A place to mix. Any smooth surface will do, but a wet palette keeps a mix usable through a whole session, which helps when every coat has to be thin.
- Water and a cloth, one to rinse the brush in and the other to blot it on.
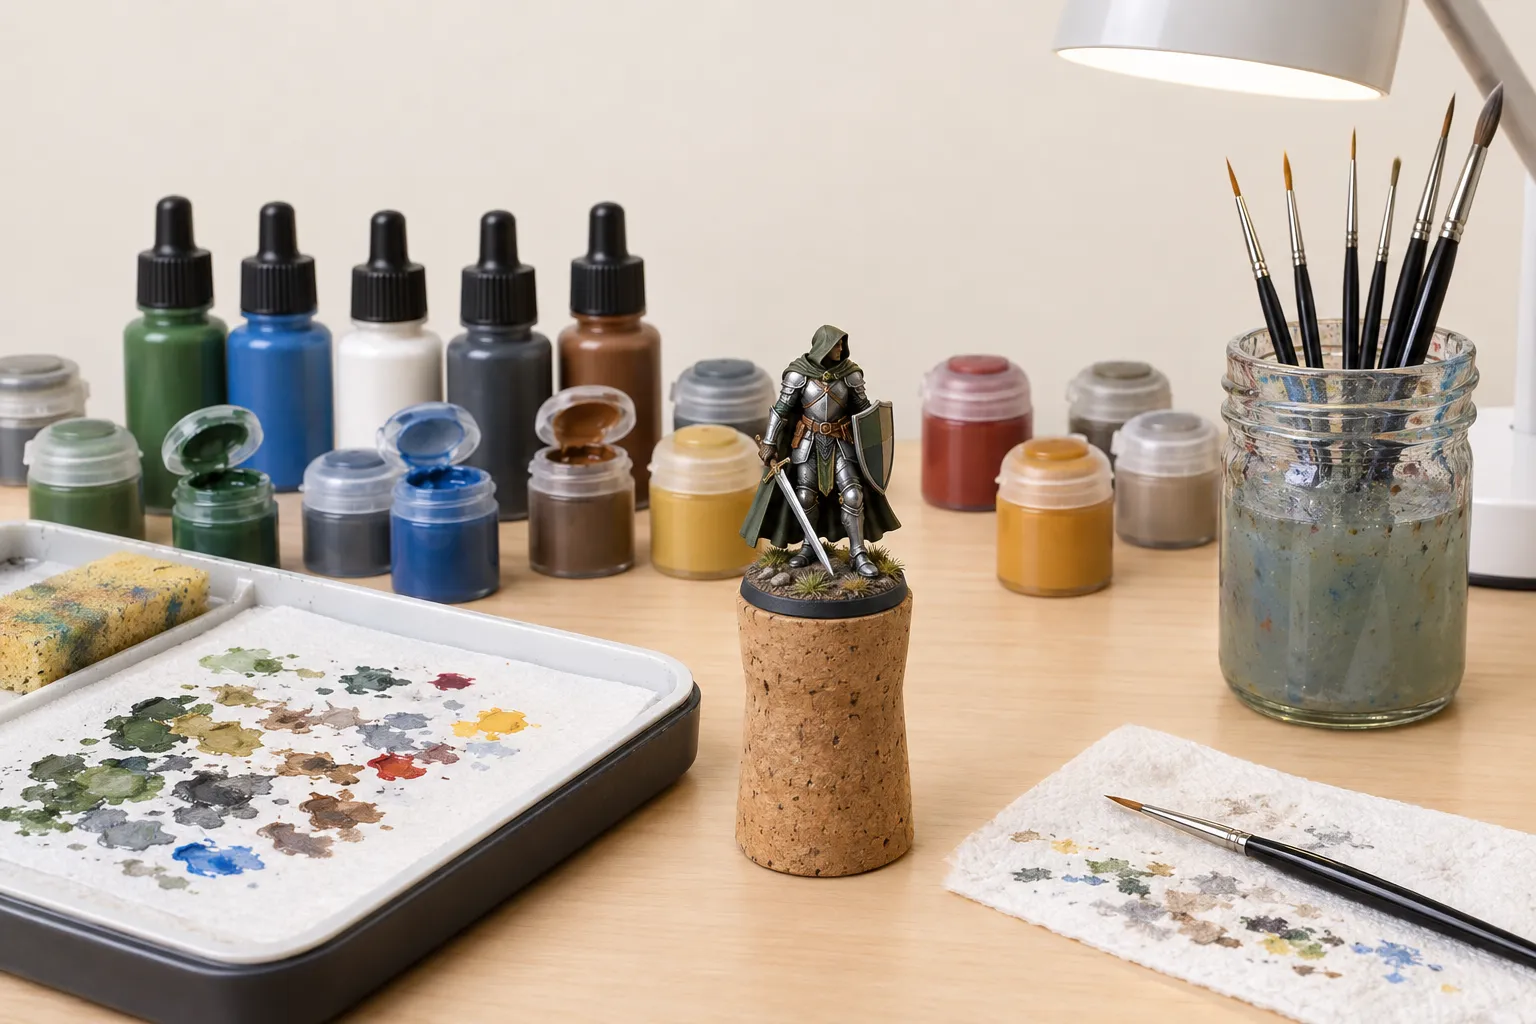
- Something to hold the figure by: a painting handle, or a cork or bottle lid with the base stuck to it. Holding the base, not the figure keeps your fingers off wet paint.
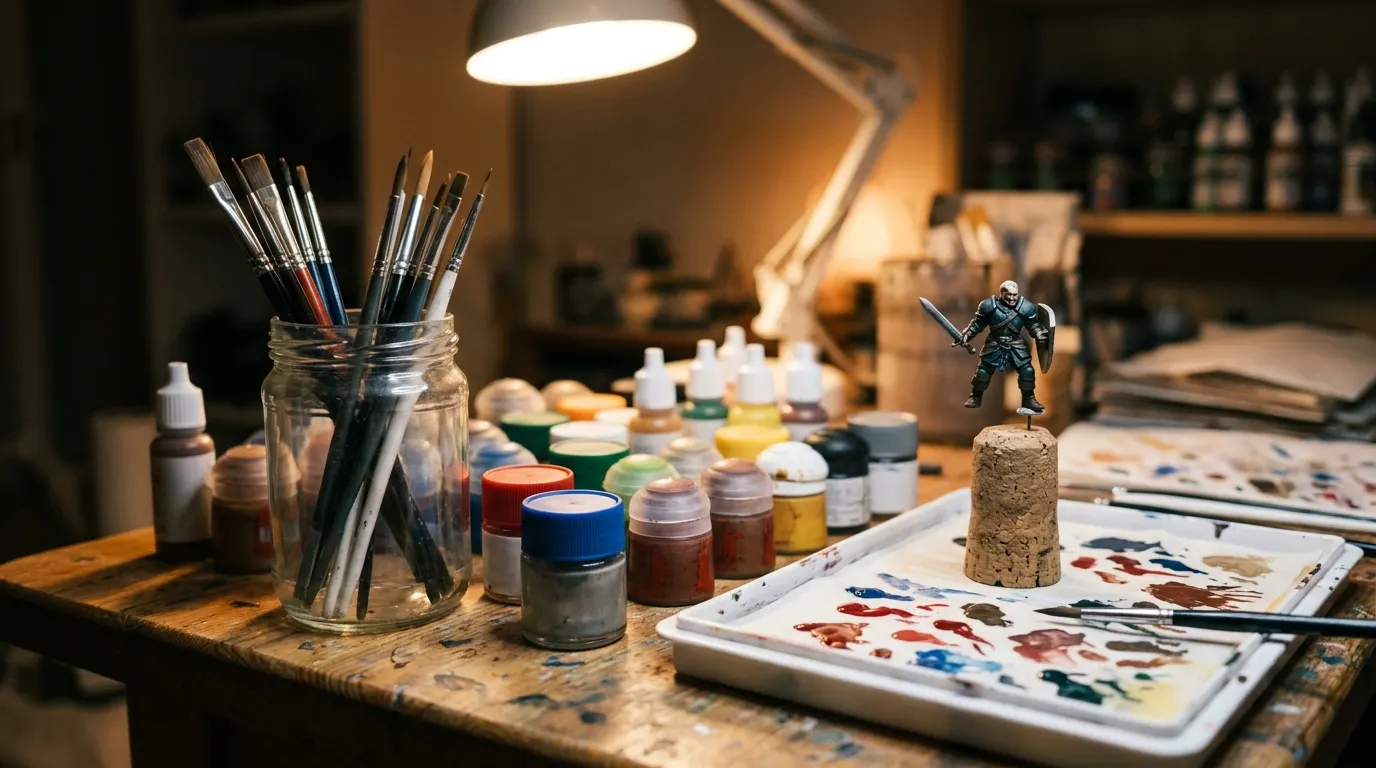
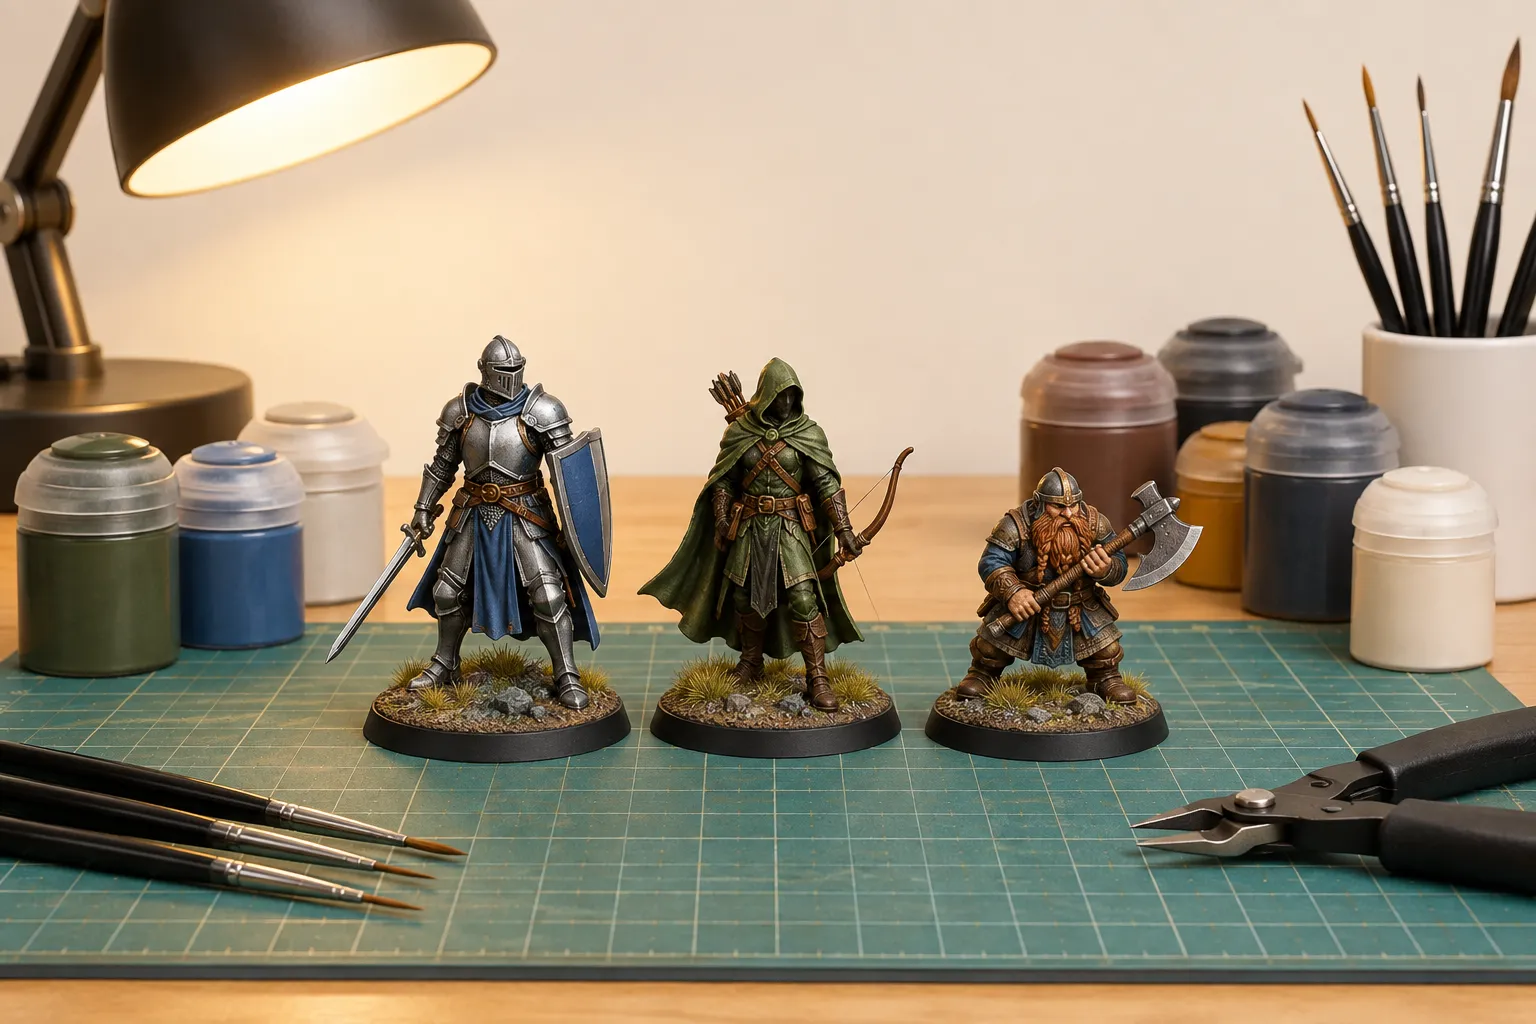
- Light you can see by. A lamp you can angle at the work, as in the picture at the top of this page, does more than the ceiling light.
Working out what to buy and in what order? Miniature painting supplies sorts the kit into a buying order and marks what can wait.
Buying for a painter instead of being one? Gifts for miniature painters covers tools, light and their own work.
Clean the figure before any paint touches it
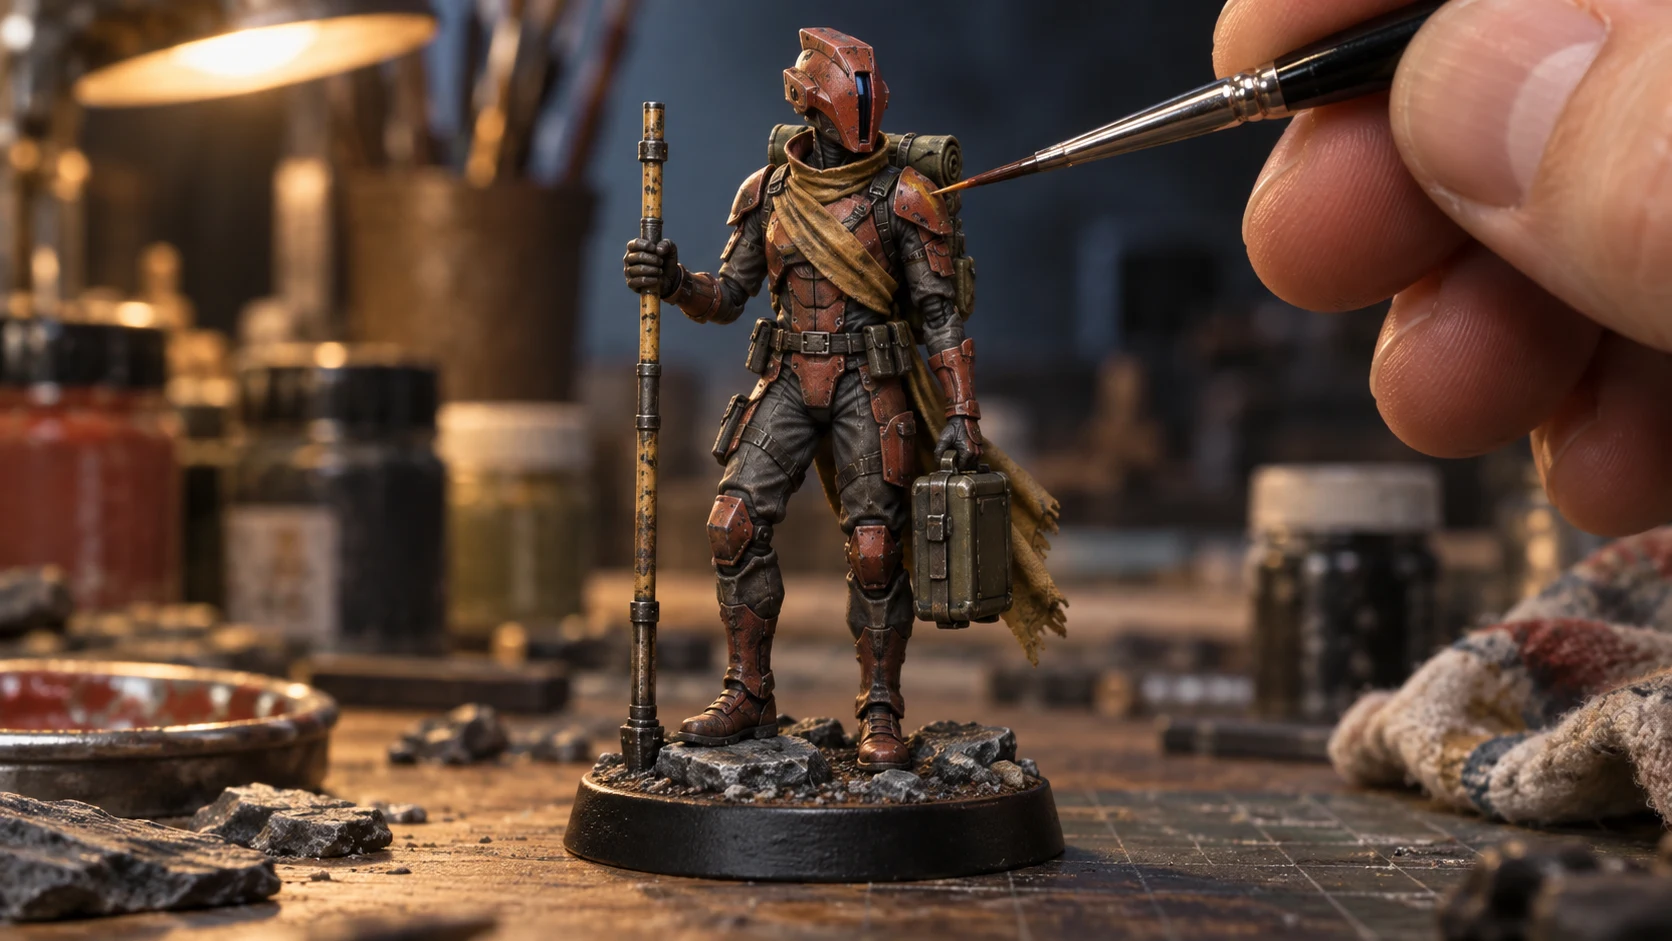
Plastic, resin and metal figures can carry leftover material from production. Mold lines are the raised seams, and small nubs remain where a part was cut from its frame. The same paint maker's preparation guide scrapes them away with the back of a hobby knife, because it gives control over how much material comes off.
Washing comes next, for some figures. The same guide says: "Some resin and metal miniatures also need to be washed before assembly. This removes mold release agents that can prevent primer from sticking properly." Its method is warm water with a bit of soap, a gentle scrub with a toothbrush, a cold rinse and time to dry. The guide names resin and metal and doesn't mention washing plastic, so for a plastic figure follow whatever came in the box and at least look it over for dust.
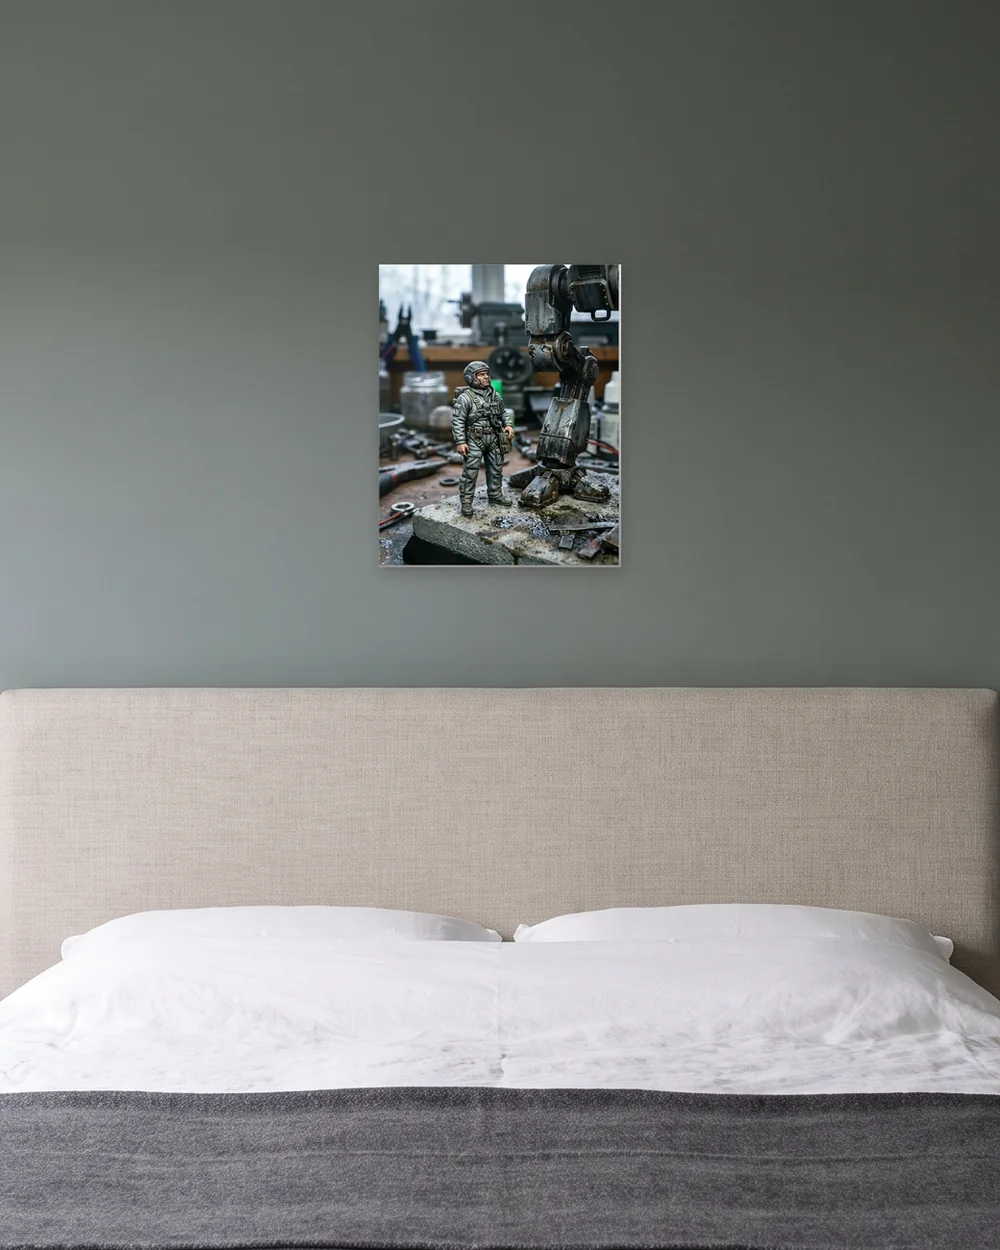
Priming: whether you need it, how much, and how long to wait
Primer is the first coat, and a paint maker's priming guide gives its job in one sentence: "It creates a surface that helps your acrylic paints adhere more reliably and gives you an even foundation for the colors that follow."
Without primer, then, the paint has a less reliable surface to grip. You can see what that means on your own model. Paint a patch on the underside of a spare base or an unwanted figure, leave it to dry, and scratch it with a fingernail. Do the same on a primed patch and compare the two.
Color. The guide says: "White or lighter primers are useful when you want bright, vibrant colors, while black can give you a darker starting point and make deep recesses more forgiving."
How many coats? The guide's answer isn't a number. It says "The goal is a thin, even foundation that prepares the surface without obscuring detail", and that building coverage in controlled passes beats unloading one heavy coat. So think in light passes from different angles, not a count. Check the figure for dirt first too: "Dust, pet hair, and other debris sitting on the surface can become trapped beneath the primer".
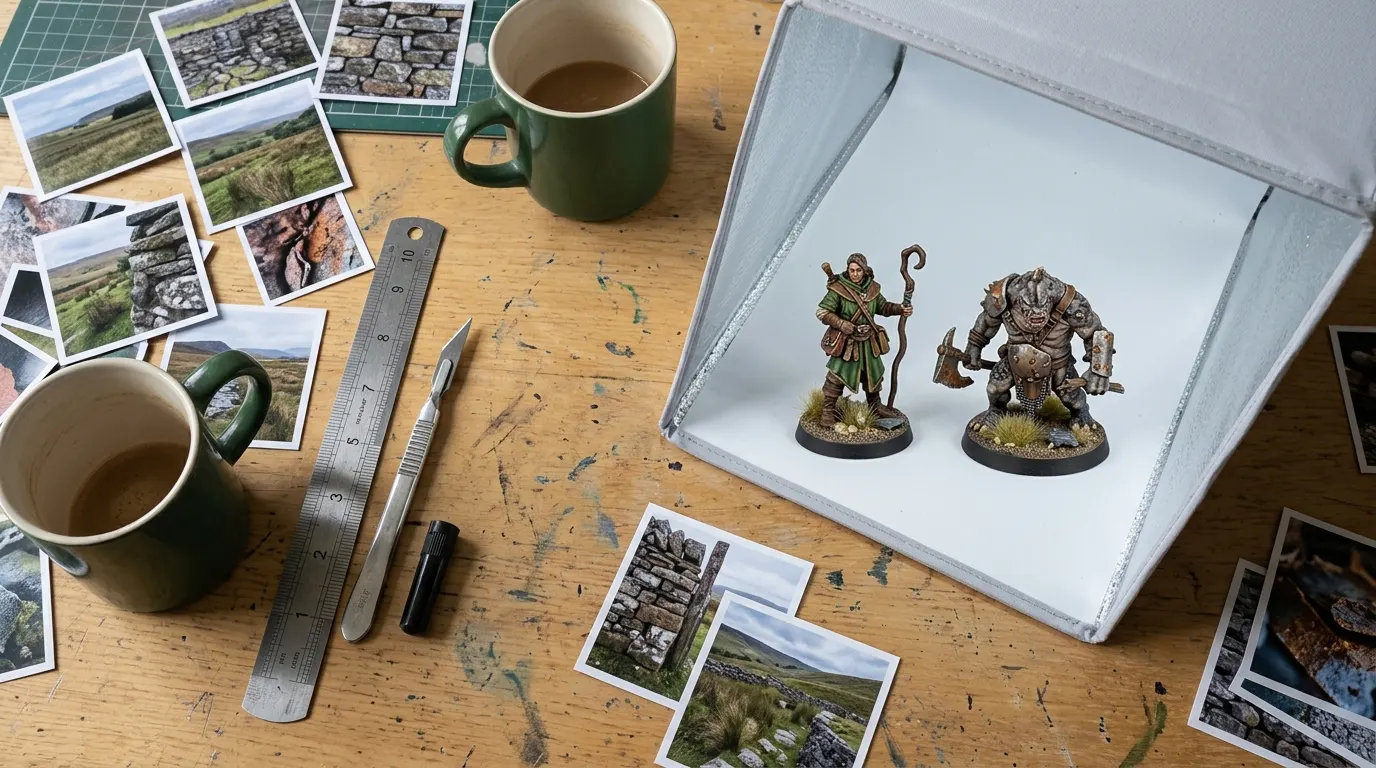
| Question | What the guide says |
|---|---|
| Why prime | Paint adheres more reliably, on an even foundation |
| Which color | White or light for bright colors, black for a darker start |
| How many coats | No number: thin, even passes from different angles |
| Before spraying | Check the figure for dust and pet hair |
| Drying time | Whatever the instructions on the can say |
| Where to spray | A well-ventilated area |
How long before you paint? Not straight away. The guide says: "Give the primer time to dry according to the instructions on the can before handling or painting the miniature." There's no time given here on purpose, because it depends on the primer, the temperature and the room, and the instructions on your own primer are the only figure that applies to it. On checking by touch, the guide says: "If you're wondering whether it's dry enough to poke it with your finger to check, that's probably a sign to wait a little longer."
One safety line from the same guide, because it's easy to skip: with an aerosol primer, "always spray in a well-ventilated area and follow the safety instructions on the can."
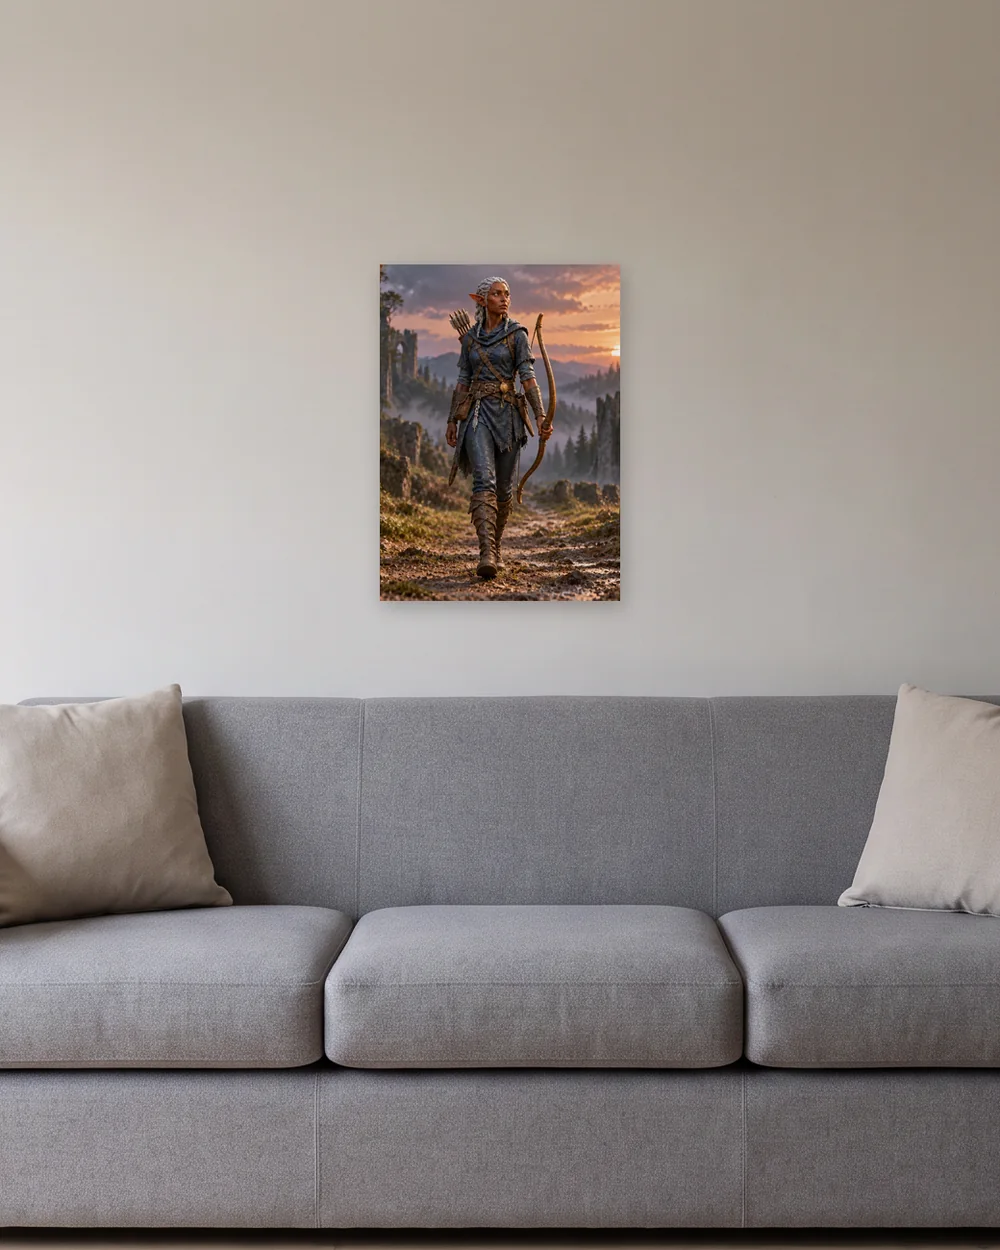
Zenithal priming
Zenithal priming means spraying a dark primer all over, then a lighter one from above only, the way sunlight would fall. The top surfaces come out pale and the recesses stay dark, so the figure shows you where its highlights and shadows belong before any color goes on. Thin paints and washes laid over it pick up that light and shade for free. It suits painters who work in thin layers and figures with lots of raised detail; on a model you plan to paint in thick, opaque coats it makes little difference.
Contrast paints, and when they save time
Contrast paints, and similar one-coat paints from other makers, are thin, heavily pigmented colors that pool in the recesses and stay light on raised areas in a single coat. Over a pale or zenithal primer they give base color and shading at once, which is why they are popular for armies and for beginners. They show every brush mark on large flat areas and can look streaky on smooth panels, so many painters use them on cloth, skin and fur and paint armor plates the usual way.
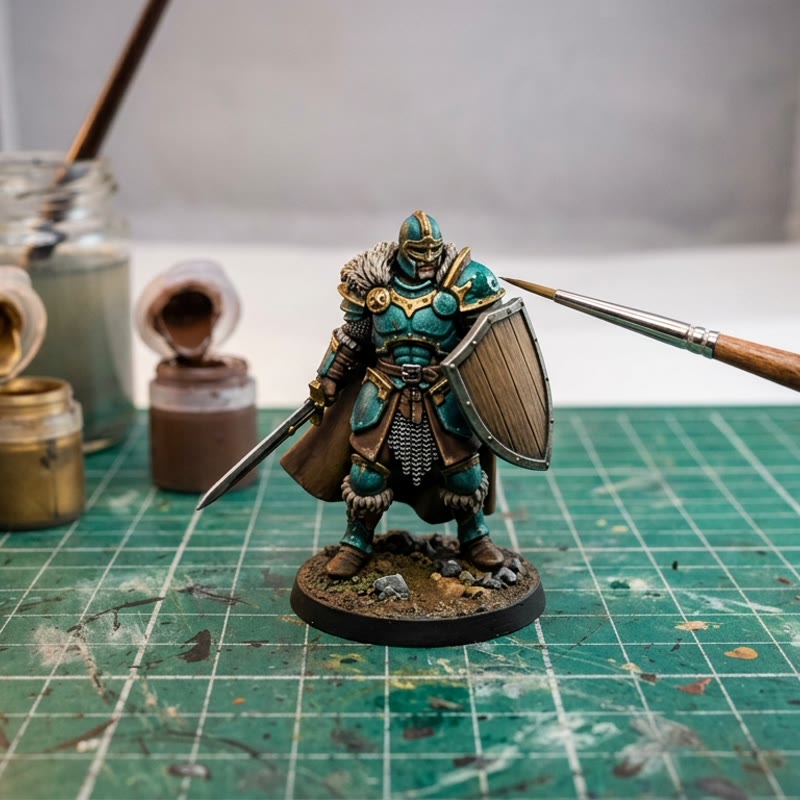
Base coats: thin, and the awkward places first
A base coat is the first color, laid over the primer. The paint maker's base coat guide describes the mix to aim for as "the consistency of heavy cream" and says to use "thinned-down layers of paint, instead of trying to cover the area in one go to avoid covering up details." Its suggestion is one or two layers: "We recommend applying your paints in one or two layers to preserve the detail on your miniature." A first thin layer can look patchy, and the guide expects that: depending on the color and what's underneath, "you might need extra layers of paint."
Order matters here too. The guide says to start "by painting the areas that are hardest to reach with your brush to avoid accidentally hitting areas you already painted." Under the arms, inside a cloak and behind a shield come before the big open surfaces. Load only "the front half of the bristles" when you pick up paint, and mix a dab on your palette first so you can judge how thick it is before it reaches the figure.
Then wait. The guide's instruction is blunt: "Allow the basecoat to dry completely before proceeding to the next steps in your painting process." A slip made early is easy to fix if you catch it: "Keep a clean, damp brush nearby to quickly wipe away any errors before the paint dries".
| Stage | What to do |
|---|---|
| Clean | Scrape mold lines with the back of a hobby knife; wash resin and metal |
| Prime | Light, even passes, then wait for it to dry |
| Base coat | Heavy-cream consistency, one or two layers, hardest places first |
| Shade | Something darker into the recesses |
| Highlight | A lighter version of the base color on edges and raised areas |
| Base | A plain dark rim, texture, then tufts or flowers last |
Shade, then light
Once the base coats are dry the figure looks flat, and the next two stages fix that. Shading puts something darker into the recesses, under the chin, between folds and around straps, so the sculpt reads as depth. Highlighting does the reverse: a lighter version of the base color goes on the edges and raised areas that would catch a lamp. Keep each step smaller than the one before it, and stop when it looks right at the distance you'll see it from, not with your nose against the figure.
Dry brushing is a quick way to pick out raised texture. Wipe nearly all the paint off the brush onto a tissue before it touches the figure. If it leaves a solid mark, not a soft lightening on the high points, there's still too much on it.
If you'd like light and shadow built in from the start, look up zenithal priming, which builds the highlights in with a light spray from above, and then pick the colors that go on top.
Finish the base
A figure on a bare base can look unfinished however good the paintwork. A plain dark rim works as a frame, and a little texture or scenery helps the figure sit somewhere. Delicate extras can wait until last: the preparation guide says details like tufts or flowers "can become difficult to work with after priming and are often easier to add once the main painting is complete."
Mistakes that show up once you look closely
These are the slips the guides quoted above warn about, roughly in the order you'd meet them.
- Primer or paint that's too thick. Both guides ask for thin, even coverage that leaves detail visible.
- Spraying from the wrong distance. The priming guide says spraying too close risks primer that can "pool, run, or obscure" sculpted detail, and it says spraying from too far away means "the primer can begin drying before it reaches the miniature, contributing to a rough or dusty-looking finish."
- Touching or painting too soon. Fingerprints in primer, and paint dragged up from a layer that hasn't dried.
- Priming a dusty figure or working in a dusty room.
- An overloaded brush. Load the front half of the bristles and no more.
- No test first. The priming guide says: "test the spray somewhere other than your miniature." The same habit works for a new color on a spare.
Miniature painting: getting better without buying more
Once the basics hold, change one thing per figure. If you change three things at once you can't tell which one helped. Keep your first finished figure as a reference and stand the newest one beside it. Photograph each in the same spot, in the same light, and you can compare them properly. And if painting is your way into a game, wargaming for beginners sets out what the rest of the hobby involves.

When the figure is done
A finished figure is the end of the work at the desk. Photograph it before it goes on a shelf. How to photograph miniatures covers light, angle and getting the whole base in the frame.
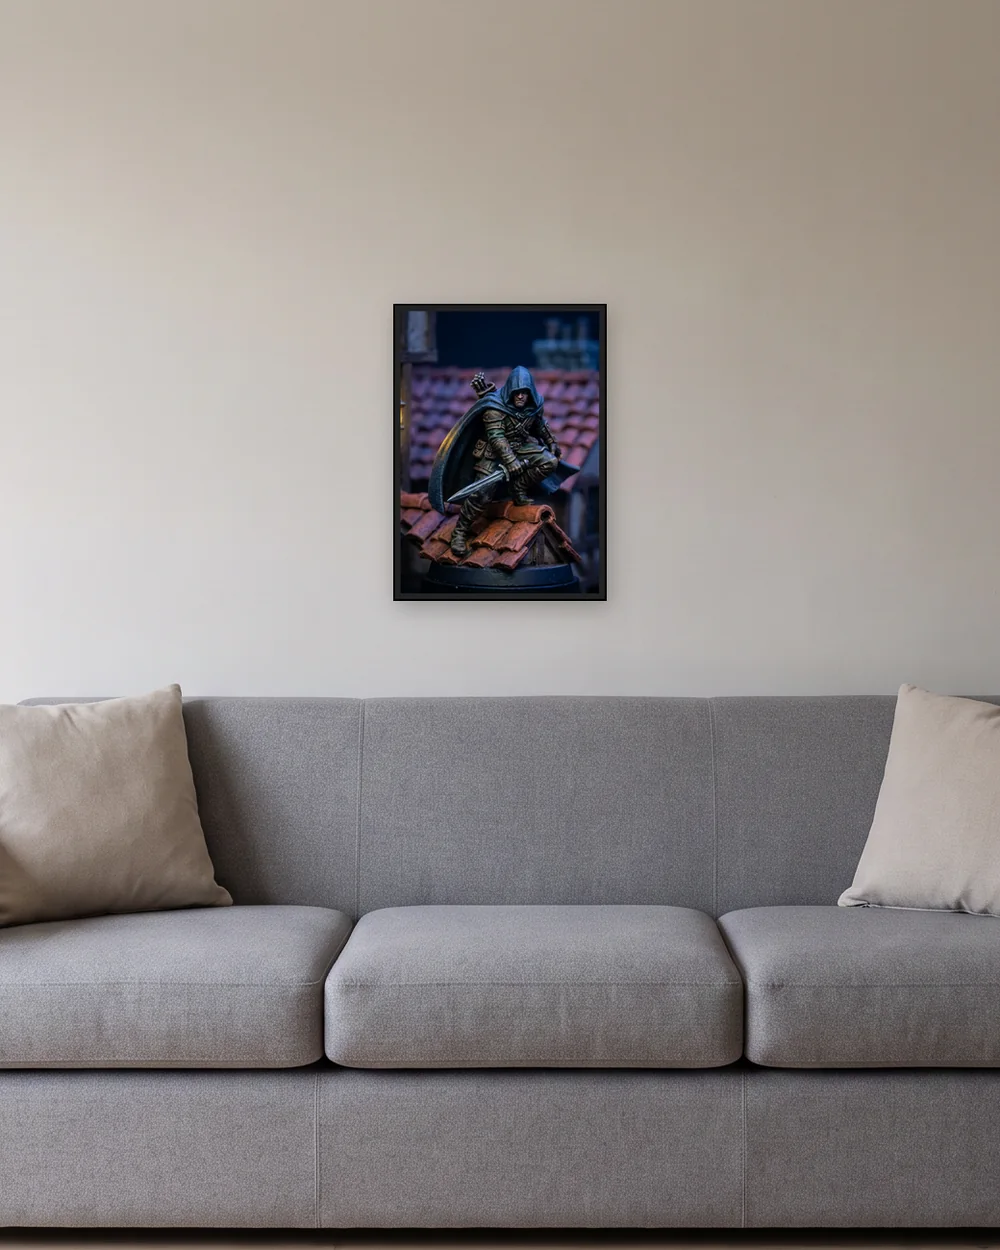
From a sharp photograph you can print the picture exactly as it is, on 250 gsm uncoated off-white archival paper through Print your artwork. The art prints page lists the sizes, or on the other formats in the format guide. The format guide matches the picture to the object.
Deciding where the figure itself should live? How to display painted miniatures compares cases, open shelves and drawers. Compare the available sizes and prices before ordering. Shipping is added at checkout.
Questions and answers
Do I need to prime my minis before painting?
Primer is the first coat. A paint maker's priming guide says it helps acrylic paint adhere more reliably and gives an even foundation for the colors that follow. You can check the difference yourself by painting a patch on a primed spare and an unprimed one.
What happens if you paint minis without primer?
The paint has a less reliable surface to grip, going by the paint maker's wording. To see how yours behaves, paint one patch on an unprimed spare and one on a primed spare, let both dry, and scratch each with a fingernail.
How many coats of primer do miniatures need?
There isn't a number to trust. The paint maker's goal is a thin, even foundation that doesn't obscure detail, built in controlled passes. Stop when the coverage looks even from every angle.
How long should minis dry after priming, and can I paint straight away?
Don't paint straight away. The paint maker's guide says to give the primer time to dry according to the instructions on the can before handling or painting. Your primer's instructions set the time; if you have to wonder whether it's dry, wait longer.
Do you wash your minis before priming?
Some resin and metal figures need it, to remove mold release agents that can stop primer sticking. The guide's method is warm soapy water, a soft toothbrush, a rinse and time to dry. It doesn't mention plastic, so follow the instructions that came with the model and check for dust.
What are common miniature painting mistakes?
Thick coats come up in both the priming and base coat guides: primer, base coats and the loaded brush all come down to thin and controlled. The list of mistakes above has the rest, from spraying at the wrong distance to painting before things are dry.